Saturday 29 September 2012

The circus is coming to town!

The circus party is on its way and I'm really excited! Woooooo! :D

All our clown needs is his little red nose and funky red bow tie! :D

Thursday 6 September 2012

Brother's 20th Birthday Gift Box!

This is my first post from my phone so I'm really sorry if it looks a bit wrong! Anyway, today I'm going to show off a little gift box I gave to my brother for his 20th birthday which was about 2 weeks ago now :D
For the label of the box I used a combination of watercolours and distress inks to create the background of the label (I used just plain craft labels). I then stamped on the label with a car and a message from a Tim Holtz kit. I used a bit of glossy accent to accent the label(wow glossy ACCENT to ACCENT, I'm being so creative :P)
On the top of the box I have first painted it with blue acrylic paint then covered it with some Laura Ashley paper which I have distressed. I used some different Tim Holtz stamps and accented it again ;)
The sides of the box are just distressed and stamped with a docrafts Portabella Road 'Happy Birthday' stamp and more Tim Holtz stamps :)
The inside of the box is similar to the top but has clockwork stamped in both the 'plain' sides!
To fill this box for my brother I used different small objects which reminded me of our childhood and described each one in a small book! :D I also put a picture on the inside of the box lid to make it even more personal :)
I really enjoyed making this box and I think my brother liked it too ;)

Tuesday 4 September 2012

Shaving Foam Art!

Well, my first day of sixth form is done! 
My 11 week holiday seems to have come to an abrupt end so did a little project to cheer me up! :D 

So today I'm showing off some shaving foam art! All you need is some inks or food colour(I used my 'adapted' easy painter found in my banner tutorial), shaving foam, paper and a wipe clean working surface! :)   

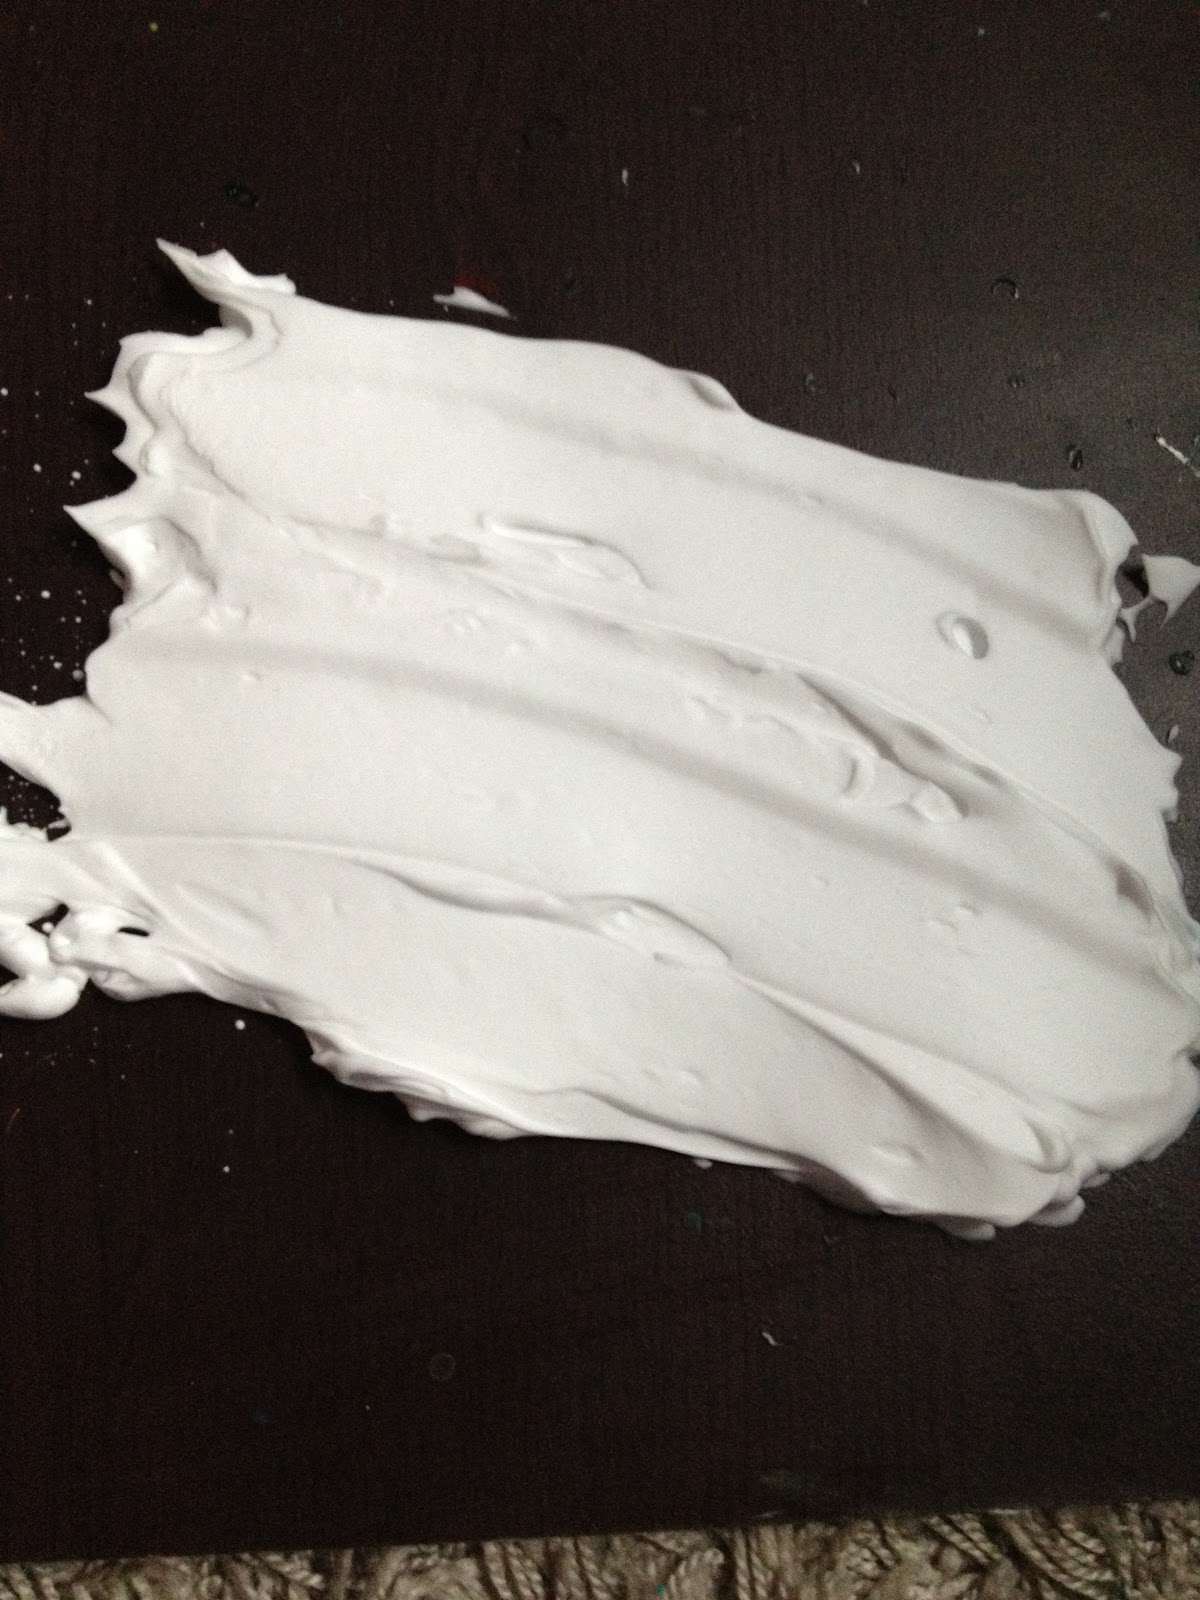
 So first just flatten out the shaving foam to make it fit your paper...
then mix in the inks randomly because this is what will create the pattern on your paper :)


 Then just plonk your paper into it!

 Excuse the colour change :P
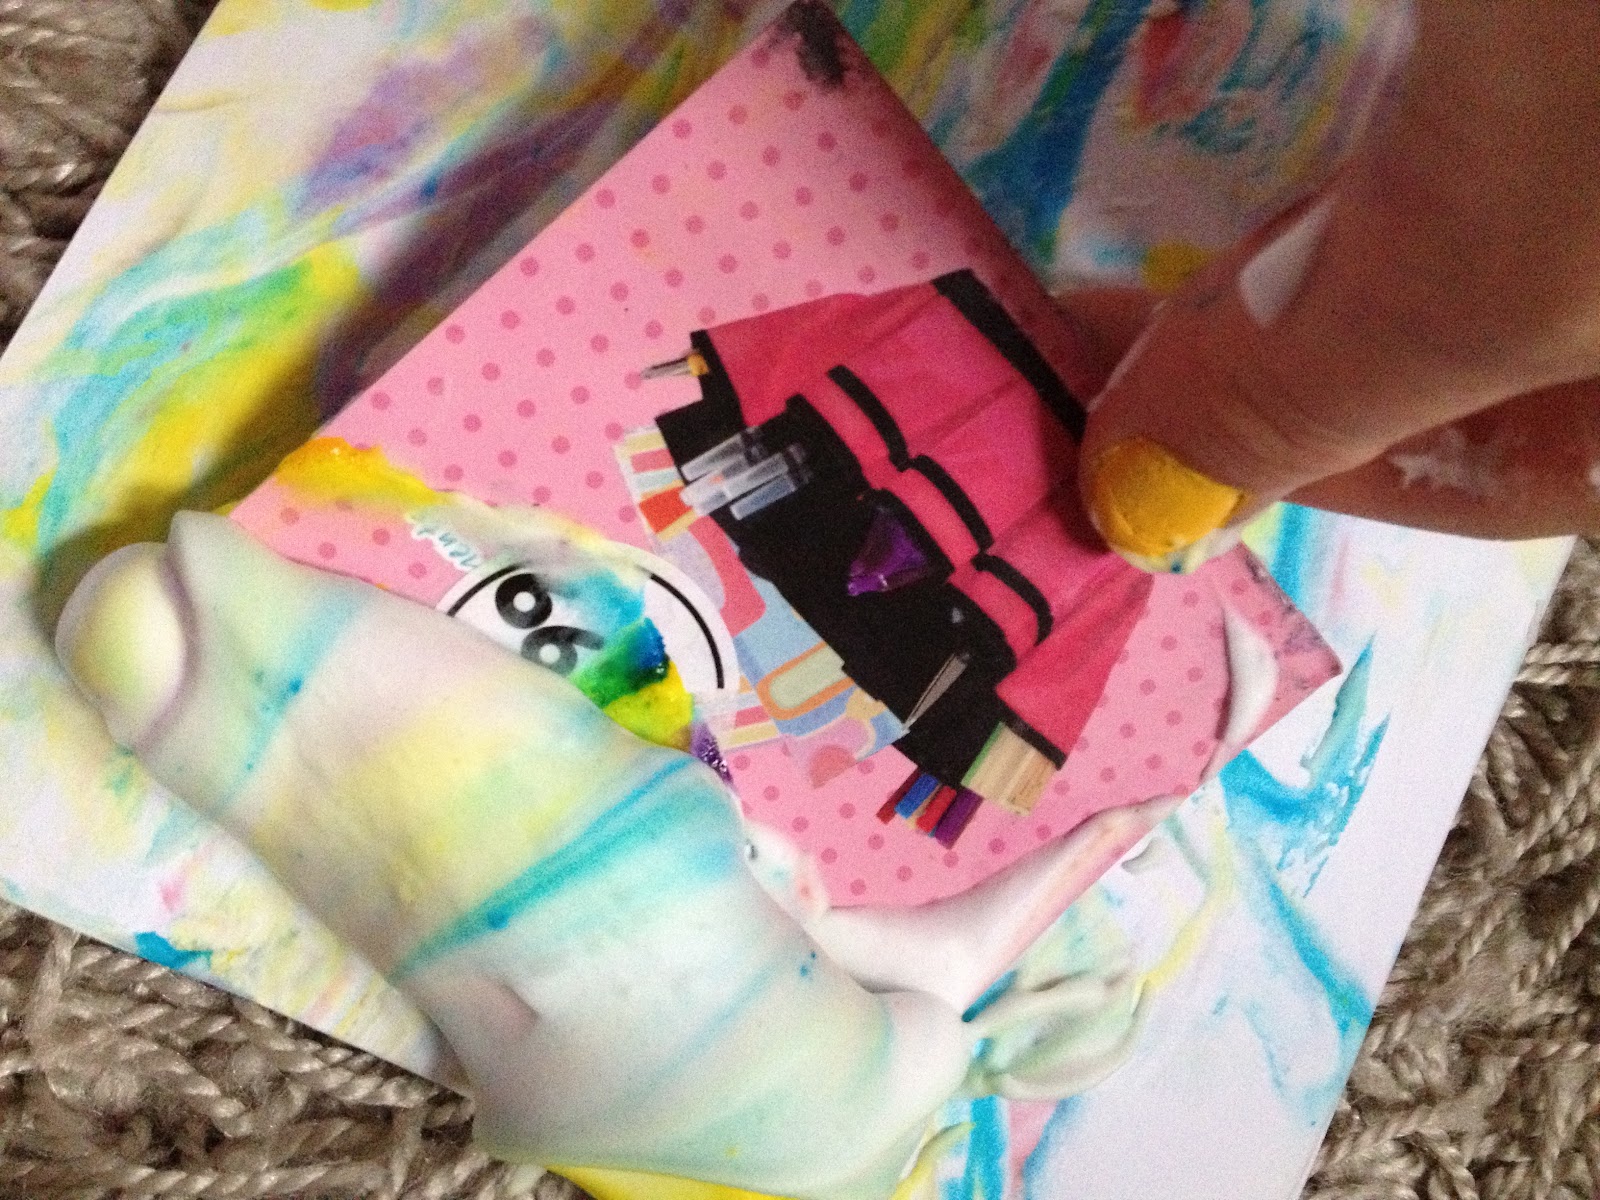
Once you've 'plonked' it into the foam to create a pattern you just need to scrap away the shaving foam..I just a packaging label ;)


 And here's the finished pattern! The colours turn pastel because it mixes with the foam creating a nice effect :)

You can also make shapes into your pattern! I chose a heart :D


So there you go! 
Post soon  :)